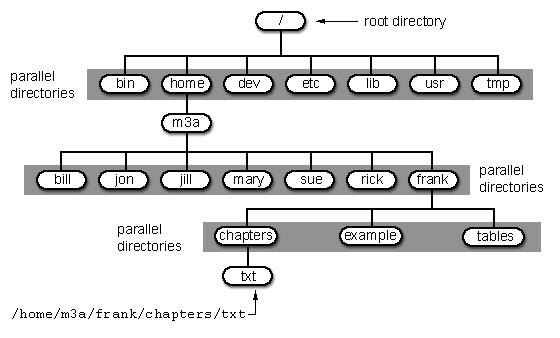
In my first tutorial on Linux basics, I discussed the importance of hackers using Linux and the structure of the directory system. We also looked briefly at the cdcommand. In this second Linux guide, I'll spend a bit more time with changing directories, listing directories, creating files and directories, and finally, getting help.

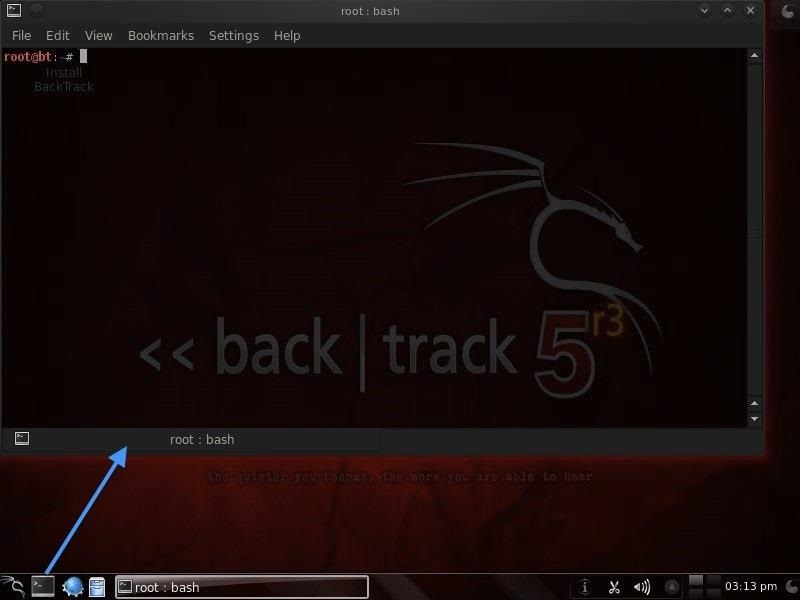
Let's open up BackTrack and getting started learning more Linux for the aspiring hacker.
Step 1Change Directory (Cd)
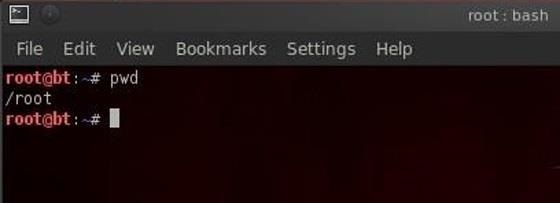
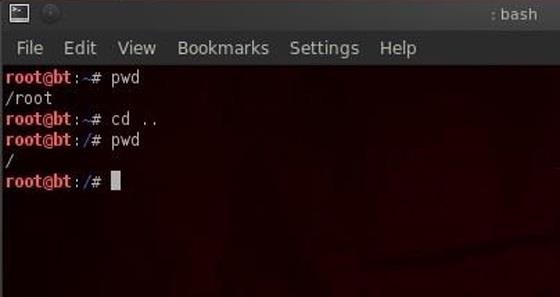
We can change directories in multiple ways with cd. As I showed you in my previous article, we can use cd .. to move up one level in the directory tree. We can also move directly to the root directory by typing cd / or move to our home directory by cd ~.
More often, we will use cd to move to a directory by using the absolute path of the directory. This mean that we write out the entire path of the directory we want to move to after cd. We can also move to the directory by using the relative path of the directory. This means that we don't need to write the entire path, but simply use the path that we're currently in and append to it. Let's look at some examples.
Let's say we're in our root user directory in BackTrack and we want to move to theaircrack-ng directory (we'll be doing some aircrack tutorials soon). We can simply type:
- bt > cd /pentest/wireless/aircrack-ng

This will take us directly to the aircrack-ng directory.
Now let's say we want to go to the scripts sub-directory within aircrack-ng. We could type out the full path to the sub-directory, but it's much simpler to type the relative path from where we are. We know we are /pentest/wireless/aircrack-ng, so type:
- bt > cd scripts

And that takes us to the scripts sub-directory within aircrack-ng or/pentest/wireless/aircrack-ng/scripts.
Once again, it's critical to emphasize that Linux is case sensitive, so typing the directory without the proper case will result in the error message, "no such file or directory".
Step 2Listing Command (Ls)
Once of most used and important commands in Linux is ls or list. This command is used to list the contents of a directory or sub-directory so that we can see the contents. It's very similar to the dir command in Windows. So let's use it in theaircrack-ng directory;
- bt > ls

We can see that Linux listed all the files and directories within the aircrack-ngdirectory. Linux allows us to modify its commands by using switches; these are usually letters preceded by the dash (-). With ls, it's helpful to use two of theses switches, -a and -l.
The -a switch means all, so when we use it, Linux will list all files and directories, even those that are hidden. When we use the -l switch, it gives us a long listing, meaning it gives us info on the security permissions, the size, the owner, the group of the file or directory, when it was created, etc.
Let's type:
- bt > ls -la

We'll examine more closely the security permissions in a later tutorial, but you must know that you need execute (x) permission on any file you want to execute. So, if you download a new tool, you must make certain that you have execute permission on it.
Step 3Create a File (Touch)
The create a file in Linux, it's a bit different from Windows. In Linux, we use thetouch command. So, let's create a new file called newfile:
- bt > touch newfile
Now we can check to see if that file exists by doing a directory listing:

- bt > ls -la
We can see that new file has been created!
Step 4Create a Directory (Mkdir)
Similar to Windows, we can create a directory by using the make directory command (mkdir). Let's now make a new directory.
- bt > mkdir newdirectory

Now type ls and we can see that a new directory has been created .
Step 5Getting Help (Man)
Linux has a very useful utility called man. Man is the manual for nearly every command. If you should forget what a command does, simply type man and the name of the command and it will display the manual with all the info you need about that command, its switches, and arguments. For instance, type:
- bt > man touch

With most commands, you can also use either the -h switch or the --help switch after the command to obtain "help" about a particular command. In the case of "touch", we must use the --help to obtain help on the touch command.
- bt > touch --help